
Hey guys we know it’s been a while. Happy new Year and all that stuff :).
So this is post regarding 2 things. First, as the title mentions, a few things that you can do in order to liven up an illustration. Second, most of the “tips” you see here are solutions that a few dozens eyes provided. So be sure to show and share your WIPs with other developers and communities. Check this thread on Reddit regarding the “development of the following example”.
Ok so we took one of our backgrounds for our levels…
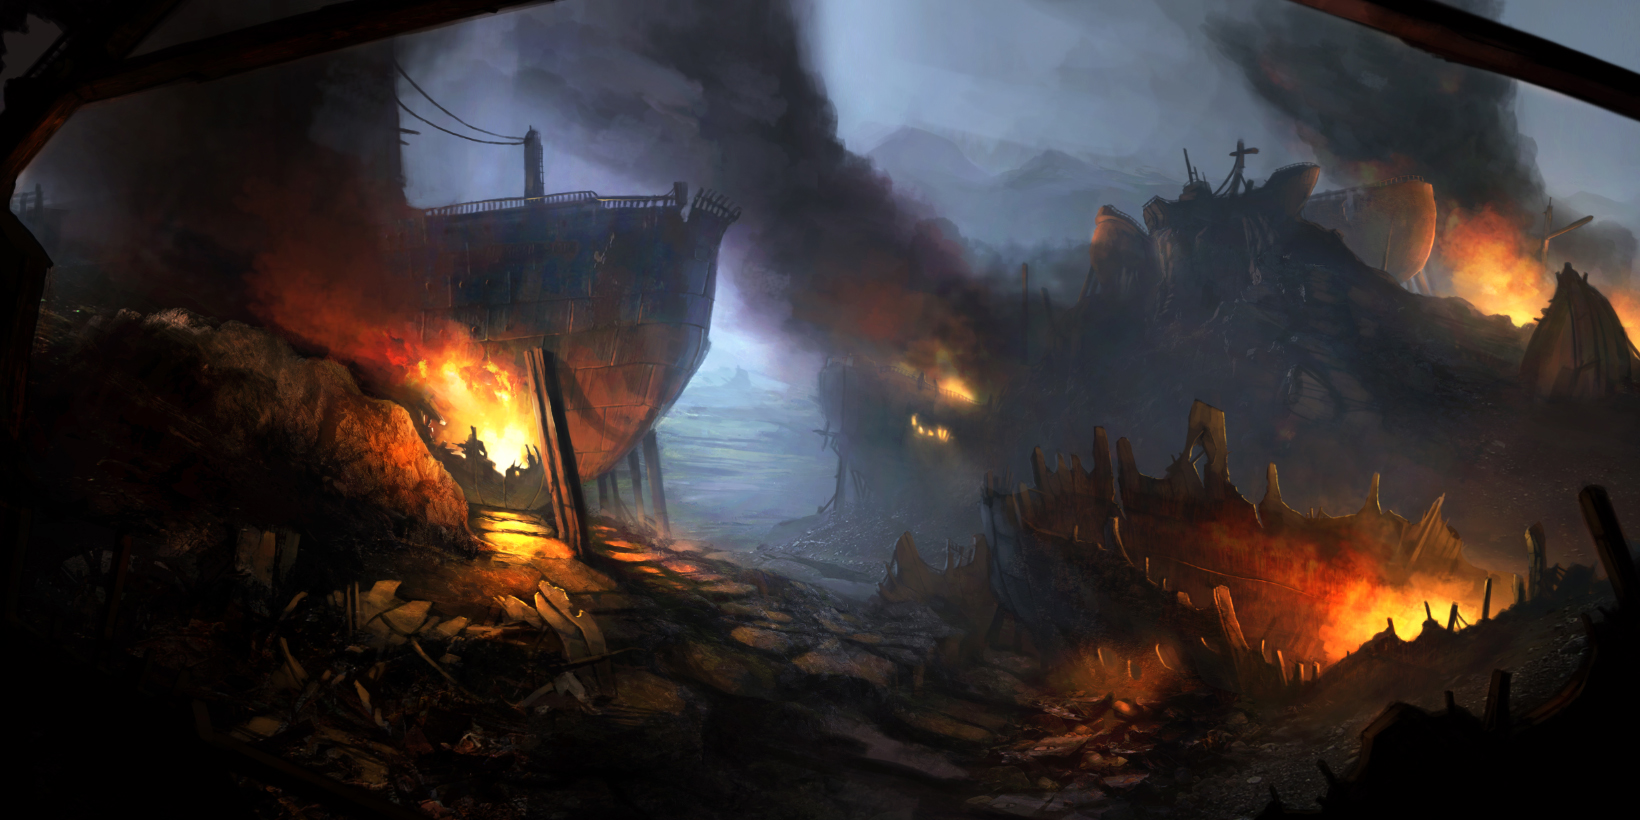
…and made it like this.

Now this takes a lot of time, and the result is not THAT different but it adds some value to the whole thing. Everybody likes a good fire. (By the way for those of you wondering what happened to the colors and why does it look “pixelated” that’s that’s just how GIFS work.)
The particle
First thing is to find out what you want to animate/ change in the scene. Fires were my focus. I could also have done some clouds, maybe i will. Luckily i found a Unity Asset that had the style i wanted. Be smart about this, there is no reason to reinvent the wheel. Always check for existing assets, it saves time and money. It took a lot of tweaking but it had the sprite-sheet i needed for this.
- Particle effect base, check.
- In order to reach the result you see now, i also added some embers. With the new “Noise” option on Particles it’s just a matter of a few seconds to make them move nicely.
- Then one of the most interesting aspect of the fire is the “heat distortion“. Just use the Effects/ Explosion/ Distortion Shader to achieve this.
- I also cropped the lighted areas around the fires and added a small animation to them making them “flicker”
Depth
There are a number of things i did to add “depth”. First thing i had to crop the image into layers in order to partially cover the fires. Then i had to modify the 3 fires depending on their distance. The fires further are smaller, slower, and blurrier. The “blur” effect is done by simply making the smoke frames more transparent. That blends them together and provides this blur effect.
My second point
Is this too much for just a background? Maybe it is. But what is more important is that i didn’t make this alone. Most of what you read here was first said here, and how it want from this, to this and finally to what you see here. They provided examples, ideas and references and helped greatly. So be sure not ignore people’s advice.
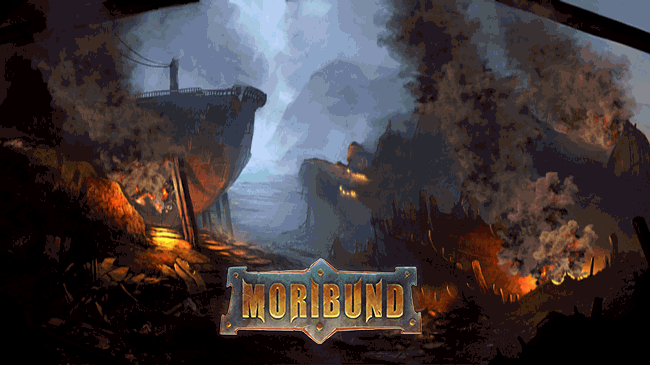
Now i know that’s not exactly what you’ve been waiting for regarding “Moribund” but we promise we will post again soon regarding our news.